下拉刷新 TableView
预计 11 分钟
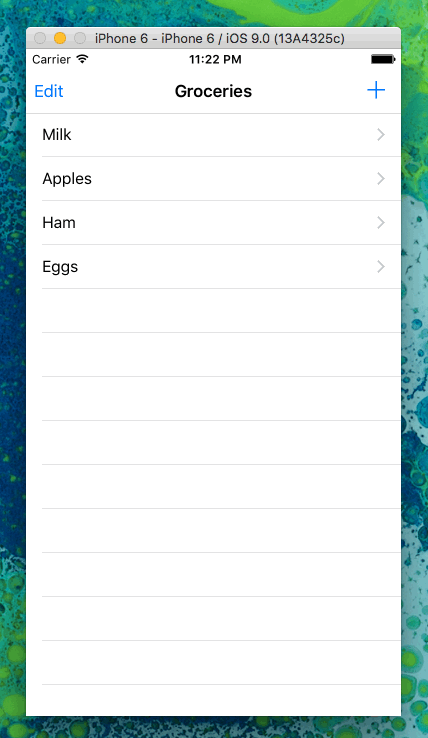
写这篇文章的原因是看到一个网站 100 Days of Swift ,这个网站里放着作者学习100天里所做的一些作品,如果有源码就更好了。这些作品,对我这个初学者来说可以说是很好的练手项目了。于是我准备去写这些作品中的一些效果,当然从简单开始啦,这个是那个网站的 PROJECT 10,以下是效果图(来自 100 Day of Swift)。
正文
下拉后模拟一个加载的过程,加载结束后刷新 TableView 并停止 RefreshControl 转动。
设置导航栏颜色
在 AppDelegate 中设置导航栏颜色为白色:
func application(application: UIApplication, didFinishLaunchingWithOptions launchOptions: [NSObject: AnyObject]?) -> Bool {
    // barTintColor 修改导航栏颜色
    UINavigationBar.appearance().barTintColor = UIColor.whiteColor()
    return true
}
导航栏图标、标题以及 RefreshControl
直接给出代码,已经写注释了:
import UIKit

class TableViewController: UITableViewController {

    // 数据源
    var dataSource = ["a", "b", "c", "d", "e", "f"]

    override func viewDidLoad() {
        super.viewDidLoad()

        // Uncomment the following line to preserve selection between presentations
        // self.clearsSelectionOnViewWillAppear = false

        // Uncomment the following line to display an Edit button in the navigation bar for this view controller.
        // self.navigationItem.rightBarButtonItem = self.editButtonItem()

        // 设置导航栏左边图标
        navigationItem.leftBarButtonItem = UIBarButtonItem(barButtonSystemItem: UIBarButtonSystemItem.Edit, target: nil, action: nil)
        // 设置导航栏右边图标
        navigationItem.rightBarButtonItem = UIBarButtonItem(barButtonSystemItem: UIBarButtonSystemItem.Add, target: nil, action: nil)
        // 设置导航栏标题
        navigationItem.title = "Groceries"
        // 设定refreshControl
        refreshControl = UIRefreshControl()
        // refreshControl 激活时调用 handleRefresh
        refreshControl?.addTarget(self, action: "handleRefresh", forControlEvents: UIControlEvents.ValueChanged)
    }

    override func didReceiveMemoryWarning() {
        super.didReceiveMemoryWarning()
        // Dispose of any resources that can be recreated.
    }

    func handleRefresh() {
        let dispatchTime = dispatch_time(DISPATCH_TIME_NOW, Int64(2 * Double(NSEC_PER_SEC)))
        // 两秒延迟调用模拟加载时间
        dispatch_after(dispatchTime, dispatch_get_main_queue()) {
            self.dataSource.append("g")
            self.dataSource.append("h")
            // 重载数据
            self.tableView.reloadData()
            // 停止动画
            self.refreshControl?.endRefreshing()
        }
    }

    // MARK: - Table view data source

    override func numberOfSectionsInTableView(tableView: UITableView) -> Int {
        return 1
    }

    override func tableView(tableView: UITableView, numberOfRowsInSection section: Int) -> Int {
        return dataSource.count
    }

    override func tableView(tableView: UITableView, cellForRowAtIndexPath indexPath: NSIndexPath) -> UITableViewCell {
        let cell = tableView.dequeueReusableCellWithIdentifier("cell", forIndexPath: indexPath)
        // Configure the cell...
        cell.textLabel?.text = dataSource[indexPath.row]

        return cell
    }

}
那这次文章就结束了,还是比较简单的,有什么疑惑,或者我写了什么错误的地方,欢迎评论。
参考资料
#技术
#实践
#开发
#Swift
#iOS