uni 小程序 SDK 官方文档写得太烂了,咋就这么多人用呢,这里记录一下过程吧
从零开始,把 uni 小程序 SDK 集成进来
流程
先用 Xcode 创建一个 App 项目,我这边项目名就起名叫 test-uniapp-sdk
然后在项目底下执行一下 pod init,生成 Podfile 文件
安装 Git LFS,这一步很重要,如果没安装成功(比如忘记运行 install),后面去 pod install 的时候,也不会报错,但是编译的时候会报错
报错内容大概是这样:
multiple errors: unknown file type in ...
所以先安装一下 Git LFS:
brew install git-lfs
git lfs install
# 看一下是否正常输出
git lfs version
在 Podfile 中增加 uni 小程序 SDK 的依赖,按需添加即可(以下是官方文档中的):
use_frameworks!   ## Swift项目需要添加

target 'HelloUniMPDemo' do

  pod 'unimp', :subspecs => [
        'Core',               ##核心库(必需)
#        'Accelerometer',      ##加速度传感器
#        'Contacts',           ##通讯录
#        'Audio',              ##音频
#        'Camera&Gallery',     ##相机&相册
#        'File',               ##文件
#        'Video',              ##视频播放
#        'LivePusher',         ##直播推流
#        'NativeJS',           ##JS Reflection call Native
#        'Orientation',        ##设备方向
#        'Message',            ##邮件消息
#        'Zip',                ##压缩
#        'Proximity',          ##距离传感器
#        'Sqlite',             ##数据库
#        'Barcode',            ##扫码
#        'XMLHttpRequest',     ##网络请求
#        'Fingerprint',        ##指纹识别
#        'FaceId',             ##人脸识别
#        'Log',                ##打印Console.log日志,发布时可移除
#        'IBeacon',            ##低功耗蓝牙
#        'BlueTooth',          ##蓝牙
#        'Speech-Baidu',       ##语音识别-百度
#        'Statistic-Umeng',    ##友盟统计
#        ##定位模块(百度高德不能同时引用)
#        'Geolocation',        ##系统定位
#        'Geolocation-Gaode',  ##高德定位
#        'Geolocation-Baidu',  ##百度定位
#        ##地图(二选一)
#        'Map-Gaode',          ##高德地图
#        'Map-Baidu',          ##百度地图
#        ##支付
#        'Payment-IAP',        ##苹果内购
#        'Payment-AliPay',     ##支付宝支付
#        'Payment-Wechat',     ##微信支付-同时使用微信分享或登录,必需使用包含支付的依赖库
#        'Payment-Paypal',     ##Paypal支付 iOS13+
#        'Payment-Stripe',     ##stripe支付 iOS13+
#        ##分享
#        'Share-Wechat',       ##微信分享-包含支付
#        'Share-Wechat-Nopay', ##微信分享-不包含支付
#        'Share-QQ',           ##QQ分享
#        'Share-Sina',         ##新浪微博分享
#        ##登录
#        'Oauth-Apple',        ##苹果登录
#        'Oauth-QQ',           ##QQ登录
#        'Oauth-Wechat',       ##微信登录-包含支付
#        'Oauth-Wechat-Nopay', ##微信登录-不包含支付
#        'Oauth-Sina',         ##新浪微博登录
#        'Oauth-Google',       ##Google登录
#        'Oauth-Facebook',     ##Facebook登录 iOS12+
  ]

#  pod 'FBSDKLoginKit','16.2.1' ##使用Oauth-Facebook 时需添加该库
#  pod 'Stripe','23.18.2'       ##使用Payment-Stripe 时需添加该库
#  pod 'PayPalCheckout','1.2.0' ##使用Payment-Paypal 时需添加该库

end
执行 pod install:
iOS 小白记录:执行后,关闭 xcode,xcode 需要去打开 .xcworkspace 的项目文件
创建 bridge 文件,因为 uni 小程序 SDK 是 Objective-C 写的。文件名可以是 {{项目名}}-Bridging-Header.h(具体到我的项目就是 test-uniapp-sdk-Bridging-Header.h),导入 uni 小程序 SDK,内容如下:
#ifndef test_uniapp_sdk_Bridging_Header_h
#define test_uniapp_sdk_Bridging_Header_h


#endif /* test_uniapp_sdk_Bridging_Header_h */

#import "DCUniMP.h"
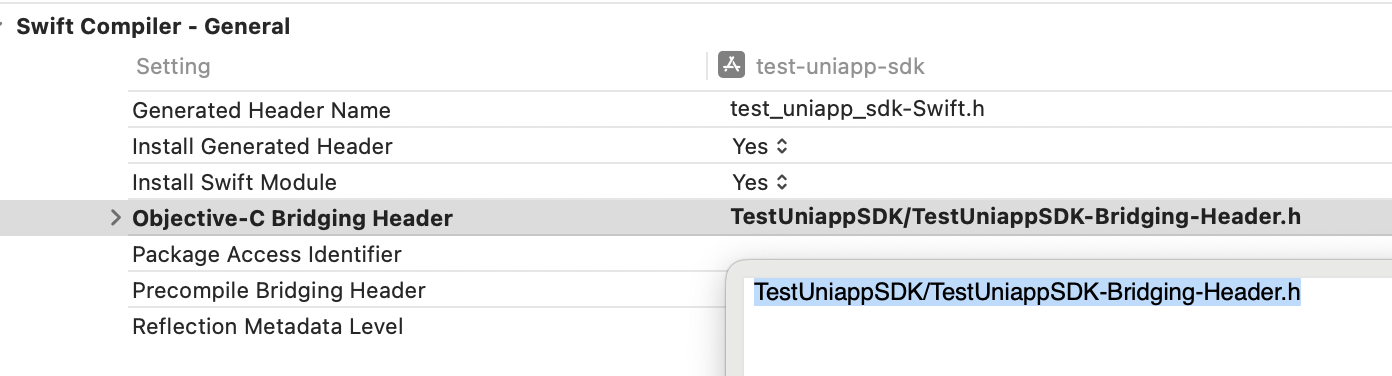
然后去项目里配置桥接文件(Swift Compiler - General > Object-C Bridging Header),填上 {{项目名}}/{{项目名}}-Bridging-Header.h(具体到我的项目就是 test-uniapp-sdk/test-uniapp-sdk-Bridging-Header.h)
配置 User Script Sandboxing 为 NO

如果用模拟器调试,并且电脑是 Apple Sillicon 的,我们要把编译目标设置为 Rosetta 的,方法是在 Product - Destination - Destination Architectures - Show Rosetta Destinations
在这里,我们可以先 build 一下项目,没有报错的话,可以进行下一步
接着我们创建一些文件,先创建一个 AppDelegate.swift,主要就是声明一个 window
属性,当有 window 属性的时候,App 启动的时候会给这个 window 赋值,而 uni 小程序 SDK 的方法会用到这个值,如果不自定义 AppDelegate 的话就会造成运行时错误:
import UIKit

class AppDelegate: NSObject, UIApplicationDelegate {
  var window: UIWindow?
}
在 test_uniapp_sdkApp.swift(项目生成自动创建的文件)中设置一下 AppDelegate 为我们上面定义的那个
import SwiftUI

@main
struct test_uniapp_sdkApp: App {
    // 这一行
    @UIApplicationDelegateAdaptor(AppDelegate.self) var appDelegate

    var body: some Scene {
        WindowGroup {
            ContentView()
        }
    }
}
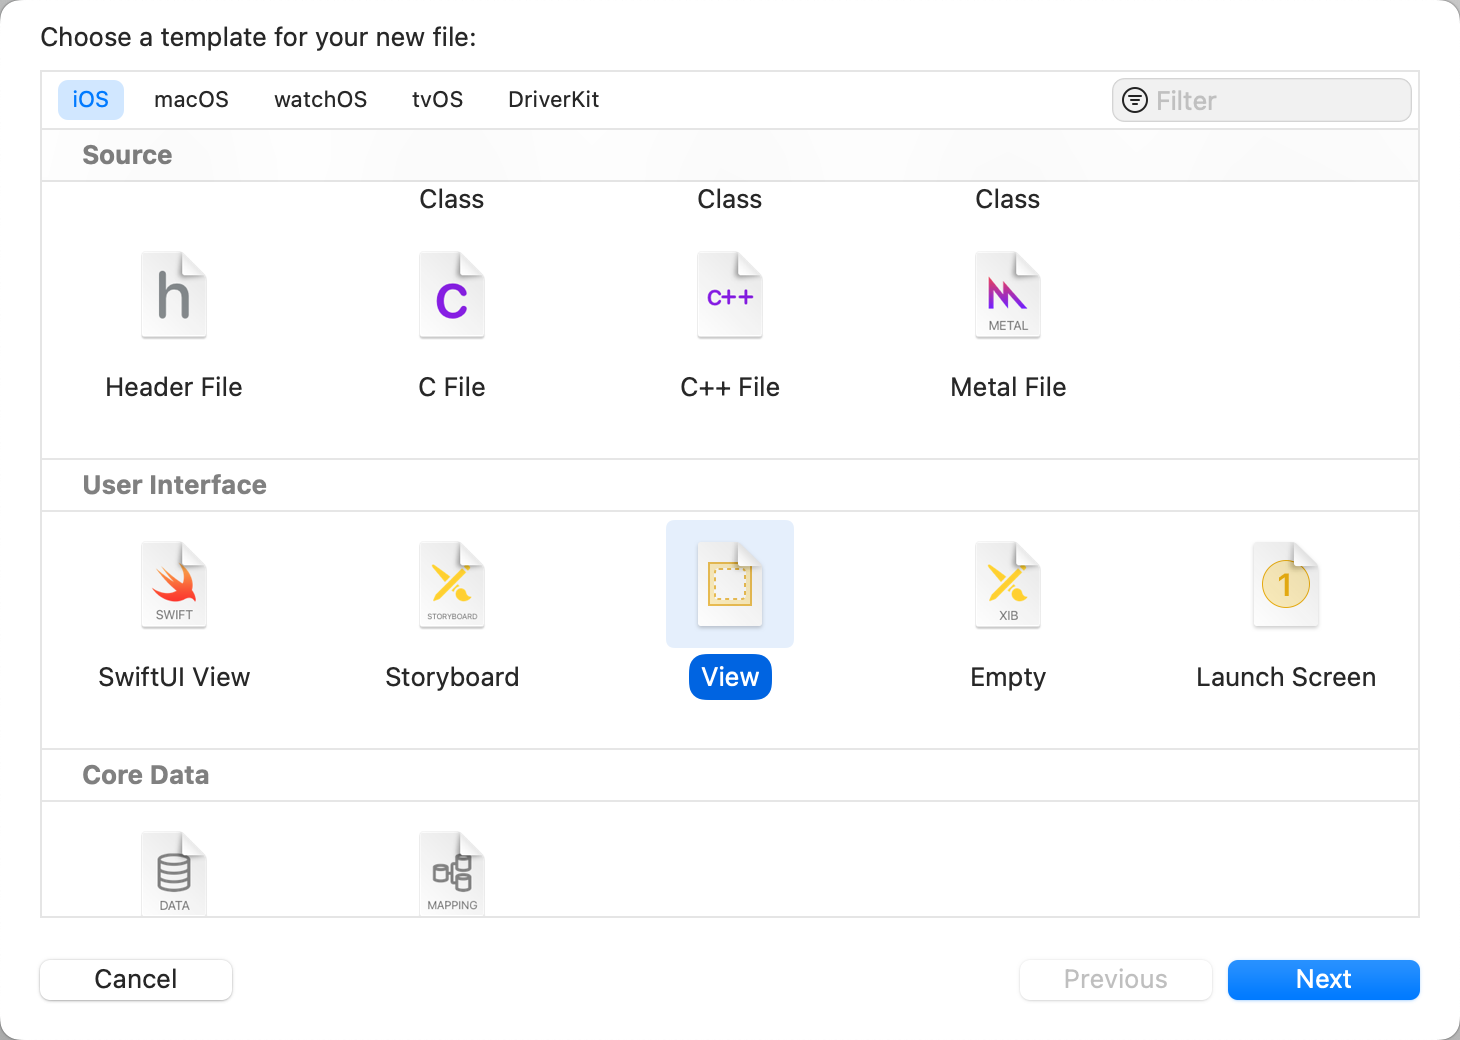
创建 SplashView.xib,uni 小程序 SDK 打开小程序的时候会使用这个视图
创建一个 MpManager.swift,这个类是用来管理小程序打开之类的,部分代码就是从 uniapp 示例中拷贝过来的:
import Foundation

class MpManager: NSObject, DCUniMPSDKEngineDelegate {
    static let shared = MpManager()

    override private init() {}

    func openMiniProgram(appid: String) {
        DCUniMPSDKEngine.initSDKEnvironment()
        self.checkUniMPResource(appid: appid)
        self.openUniMP(appid: appid)
    }

    func checkUniMPResource(appid: String) {
        let wgtPath = Bundle.main.path(forResource: appid, ofType: "wgt") ?? ""
        if DCUniMPSDKEngine.isExistsUniMP(appid) {
            let version = DCUniMPSDKEngine.getUniMPVersionInfo(withAppid: appid)!
            let name = version["code"]!
            let code = version["code"]!
            print("小程序:\(appid) 资源已存在,版本信息:name:\(name) code:\(code)")
        } else {
            do {
                try DCUniMPSDKEngine.installUniMPResource(withAppid: appid, resourceFilePath: wgtPath, password: nil)
                let version = DCUniMPSDKEngine.getUniMPVersionInfo(withAppid: appid)!
                let name = version["code"]!
                let code = version["code"]!
                print("✅ 小程序:\(appid) 资源释放成功,版本信息:name:\(name) code:\(code)")
            } catch let err as NSError {
                print("❌ 小程序:\(appid) 资源释放失败:\(err)")
            }
        }
    }

    func openUniMP(appid: String) {
        let conf = DCUniMPConfiguration()

        DCUniMPSDKEngine.openUniMP(appid, configuration: conf) { instance, error in
            if instance != nil {
                print("小程序打开成功")
            } else {
                print(error as Any)
            }
        }
    }

    func splashView(forApp appid: String) -> UIView {
        let splashView = Bundle.main.loadNibNamed("SplashView", owner: self, options: nil)?.last as! UIView
        return splashView
    }
}
改一下 ContentView.swift(项目创建自动生成的文件),加个打开小程序的按钮,并且调用 MpManager 的方法打开小程序:
import SwiftUI

struct ContentView: View {
    var body: some View {
        VStack {
            Image(systemName: "globe")
                .imageScale(.large)
                .foregroundStyle(.tint)
            Text("Hello, world!")
            Button("Open Mini Program") {
                MpManager.shared.openMiniProgram(appid: "__UNI__11E9B73")
            }
        }
        .padding()
    }
}
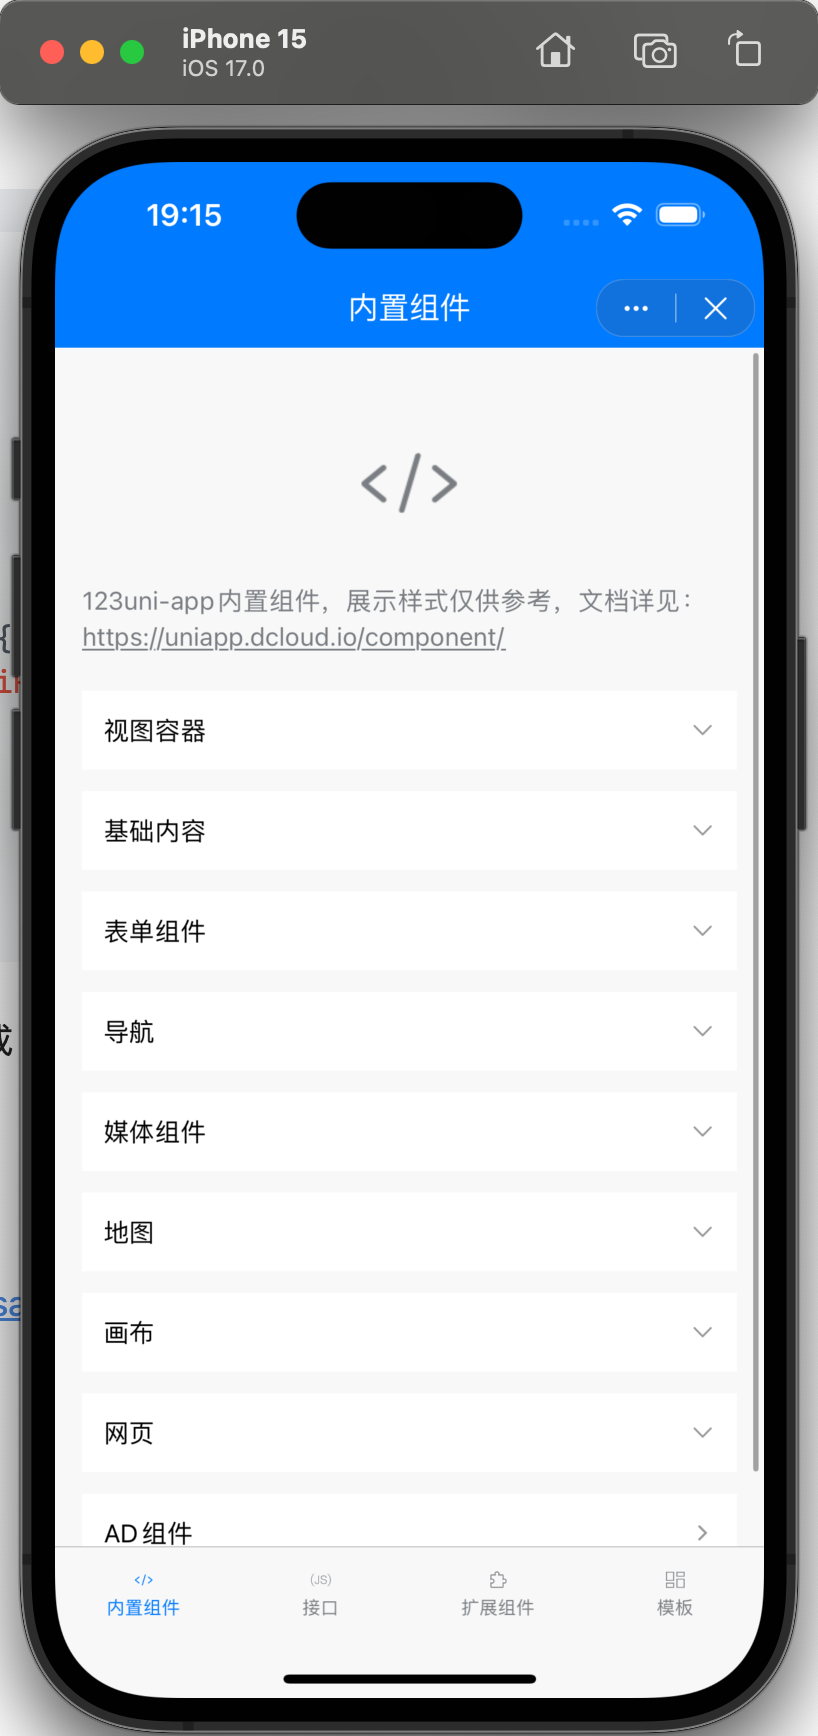
跑一下,打开,随便点点,没什么问题,初步集成完成
参考